Pressure advance pattern vs line test: which calibration to trust?
The pressure advance pattern made the low values look flimsy, so you picked 0.35 on a 0.2 nozzle. Then the line test said about 0.085. Which calibration do you trust? What pressure advance does, why the pattern is easy to overshoot, why too much ruins short lines and flow tests, and what values are normal.
What you'll learn
- Cross-check with the line test
- Direct drive: usually under 0.1
- Then redo your flow test
Chapters
- 0:00The question
- 0:21What PA does
- 0:43The pattern test
- 1:08The line method
- 1:32Too much PA
- 2:22Normal values
- 2:51Check this first
- 3:12Recap
Pause and guess
PA 0.35 at 100 mm/s: how far does the extruder run ahead? (tap to see the answer)
- 3.5 mm of line
- 35 mm of line
- 350 mm of line
Print settings
| Quality | |
|---|---|
| Layer height | 0.20 mm (0.10 mm on a 0.2 nozzle) |
| Seam position | Aligned |
| Strength | |
| Wall loops | 2 |
| Top shell layers | 4 |
| Speed | |
| Outer wall · Inner wall | your normal speeds (PA must hold at the speeds you print) |
| Support | |
| Enable support | Off |
| Others | |
| Pressure advance (filament settings)key setting | your line-test value |
| Brim type | No-brim |
Grouped by the tabs in Bambu Studio. Names differ slightly in PrusaSlicer and Cura. Settings not listed can stay at your printer profile.
Test it yourself
Mentioned in this episode
Next in this series
Full transcript
You ran the pressure advance pattern on your 0.2 nozzle. The low values looked flimsy, so you picked 0.35. Then the line test said about 0.085. That's four times less. Which one do you trust? Today: the answer, and what to check first.
Sound familiar? Two calibrations, two answers, rough small parts. First: what does pressure advance do?
Melted plastic in the nozzle acts a bit like a spring. Speed up, and the pressure lags behind, so the line starts thin. Slow down, and the leftover pressure keeps pushing: a bulge.
Pressure advance runs the extruder ahead as the head speeds up, and eases off before it slows. Too little: thin starts, fat corners. Just right: an even line. Too much: a blob at the start, a gap at the end.
The pattern test prints a row of corners, one per value, and you pick the best one. Below the right value, the corner bulges, and the line leaving it starts thin. That looks flimsy, so you go up.
Above the right value, the change is quiet: the corner just gets a little thin or rounded at the tip. So you drift far past it. And if the test prints faster than a 0.2 can push, every corner looks weak. You Asked number one set that flow limit. Do that first.
The line method gives you one clear thing to judge: constant width. Each line runs slow, fast, slow. Pick the line that keeps its width when the speed changes. The pattern works too, if you judge the sharpest tip.
That was a wide run from zero, in big steps: the most even line sat near 0.08. A finer run around it points at 0.085. Two short runs, done.
Pause and guess. The extruder runs ahead by the value times the line speed. At 100 millimeters per second, how much line does 0.35 run ahead? A: 3.5 millimeters. B: 35. Or C: 350?
It's B: about 35 millimeters of line. The line-test value needs about 8.5. So every start pushes, and every stop pulls back, about four times too much.
On a long line, that evens out. But on a 5 millimeter line, like small text or the ends of a top surface, most of the line is start or stop. So the over-push shows up as blobs and gaps.
Flow tests suffer too: their patches are made of short lines. Too much pressure advance starves the line ends, so the patch looks rough. You raise the flow to fill it, and the rest of the print over-extrudes.
So what's normal? On a direct drive, PLA on a 0.4 nozzle usually lands around 0.01 to 0.05. PETG and TPU usually need more, and nozzle size shifts it too. So 0.085 on a 0.2 is believable. 0.35 is Bowden tube territory. Bambu printers are direct drive, so this range applies there too.
Bambu Studio calls it flow dynamics, and many Bambu printers calibrate it for you. To set it by hand, type your line-test result into the filament's pressure advance field.
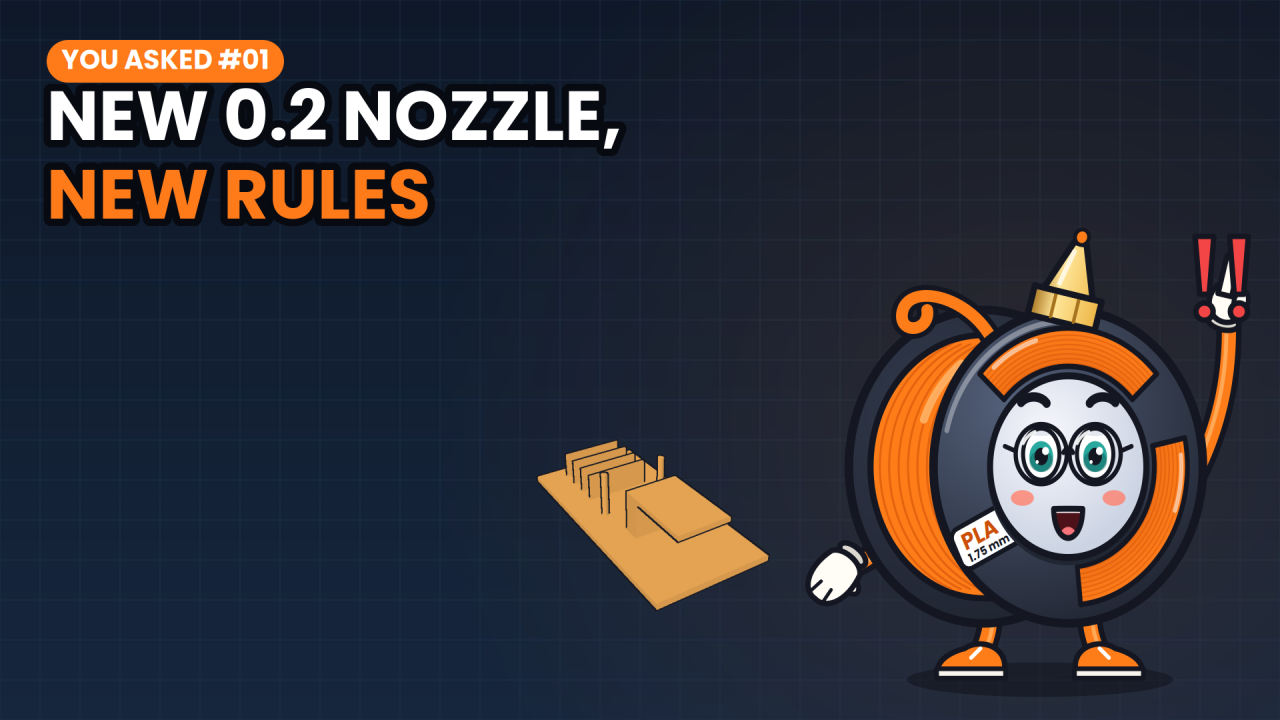
This episode's free model checks your number. A thin-walled box for sharp corners, ribs from 2 to 12 millimeters for short lines, and a flat pad for a top surface.
What to check first? Far above 0.1 on a direct drive? Distrust it. Set the flow limit, run the line test from zero, print the short ribs, then redo your flow test.
In short: cross-check with the line test, and start it at zero. On a direct drive, the value is usually under 0.1. And after fixing it, redo your flow test.
Tell me in the comments: what did your pattern test say, and your line test? Next time in You Asked: max volumetric speed, and why a bigger nozzle isn't automatically faster. Subscribe so you catch it. I'm Spoolbert, see you in the next one.

Spoolbert explains one 3D printing problem per episode, with a free model to test the fix. Made by EMBODY³, a 3D printing studio in Belgium.